
PowerShell Basics: Automate Like a Cloud Security Pro
PowerShell Scripting Automation
1. Why PowerShell? A Beginner’s Intro
PowerShell is like a Swiss Army knife for Windows — it does everything your graphical interface (like File Explorer) can, but faster and smarter. I’ve used PowerShell to automate tasks, secure systems, and save time — like cutting deployment times by 30% with scripts at my last gig. For beginners, it’s a game-changer: no more clicking through menus to grab system info or manage files. Type a command, get results — simple yet powerful.
Take this: want today’s date? Open PowerShell (Start > Search “PowerShell” > Run as Administrator) and type:
Get-Date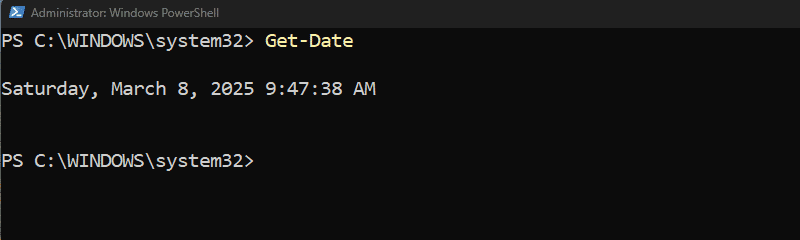 My first PowerShell command — quick and easy!
Boom - your date and time pop up in the terminal. No clicks, just text. From here, you can download files, check network settings, or even secure Azure resources — all with a single line or script. Let’s start with the basics.
2. Where Am I? Finding Your Folder
Forget clicking around in File Explorer - PowerShell lets you navigate with words. To see your current folder (aka “working directory”), type:
Get-LocationThis spits out your “Path” — like a digital address (e.g., C:\Windows\System32). I use this daily to jump around systems I’m securing. Fun fact: C: is usually your starting point — your hard drive’s root.
Moving Around:
-
Go up one folder:
cd .. -
Enter a folder:
cd Users
Try it: from C:\Windows\System32, type cd .., then cd .. again. You’re now at C:\. Then cd Users — you’re in C:\Users. Simple, right? (Note: pwd isn’t a PowerShell thing — it’s a Linux habit I picked up; stick with Get-Location.)
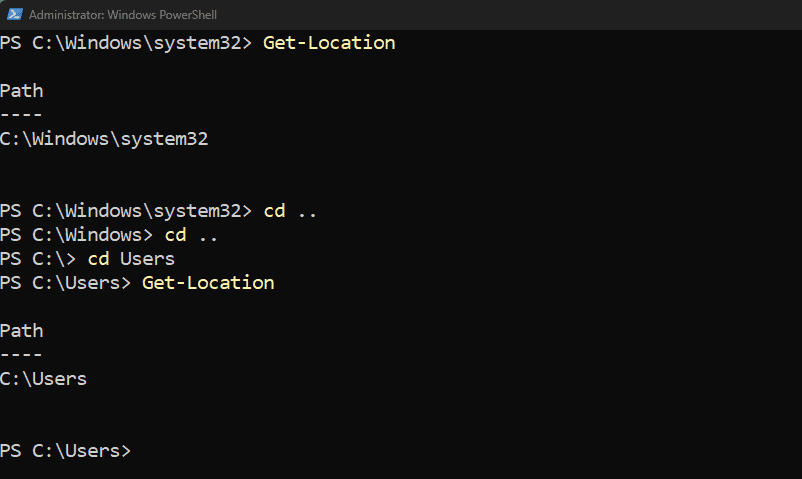 Navigating folders — faster than clicking!
3. Jumping to New Spots
Need to move somewhere specific? Use Set-Location:
Set-Location C:\This zaps you to C:\ — the root. From there, try:
Set-Location C:\Users\UsernameNow you’re in your user folder (swap “Username” for your name). I’ve used this to hop into Azure config directories in seconds. Quick shortcuts:
cd ~orcd $HOME— straight to your home directory (e.g.,C:\Users\TETTEI).
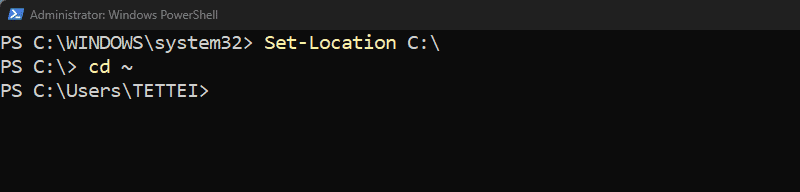 Jumping to my home folder — handy for quick moves.
4. What’s Inside? Listing Files
Want to peek inside a folder? PowerShell’s got you:
dirThis lists everything — files, folders, all of it. I’ve run this to audit system directories for security checks. Coming from Linux? ls works too — it’s an alias for Get-ChildItem, PowerShell’s native command:
Get-ChildItemNeed specifics? Use wildcards:
dir *.exeThis shows only executable files. Try *.ps1 for scripts or *.png for pics — super useful when I’m hunting for specific Azure script files.
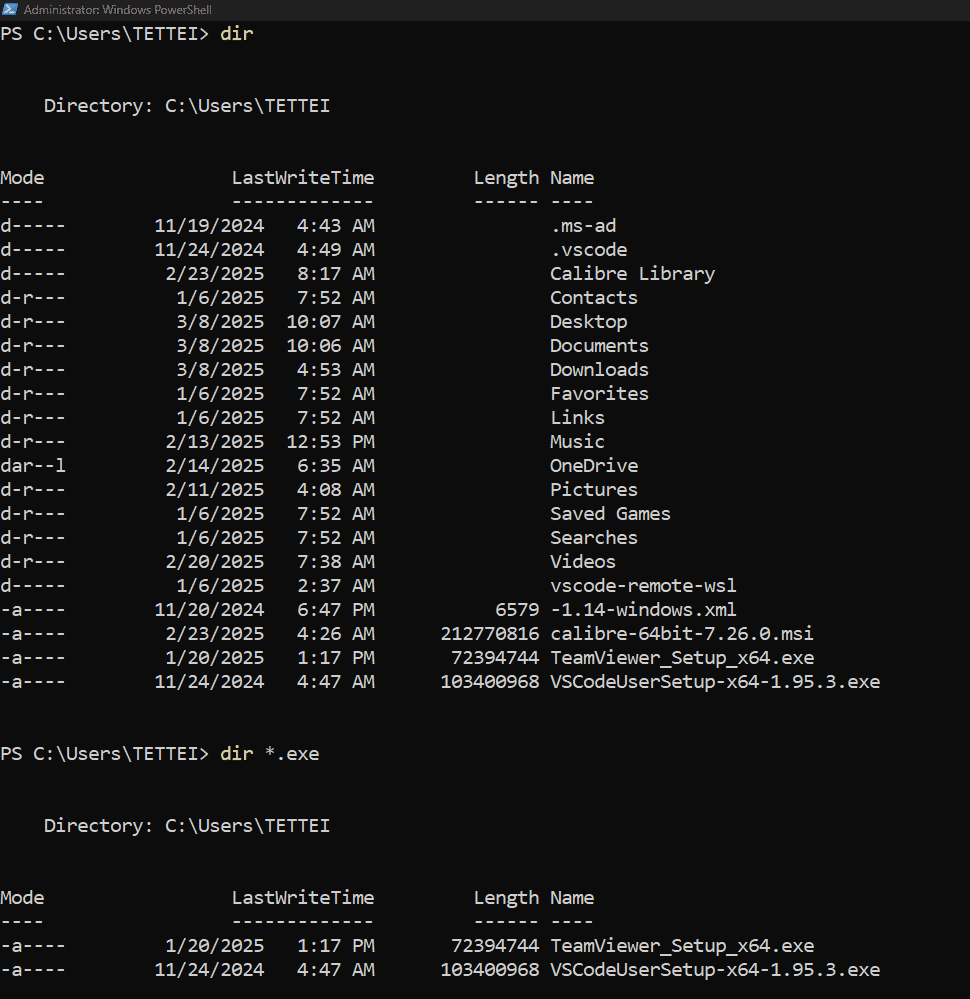 Listing files — spotting executables in seconds.
5. Making New Stuff
Create files without a mouse? Easy:
New-Item hello.txtA blank hello.txt appears — size 0 bytes, ready for content. I’ve used this to whip up logs or test files on the fly. Not just text — try . .docx, .pdf, or .jpg. For folders:
New-Item -ItemType Directory -Name NewFolderBoom — a new folder. At work, I’ve scripted folder creation for Azure resource setups — saves tons of time.
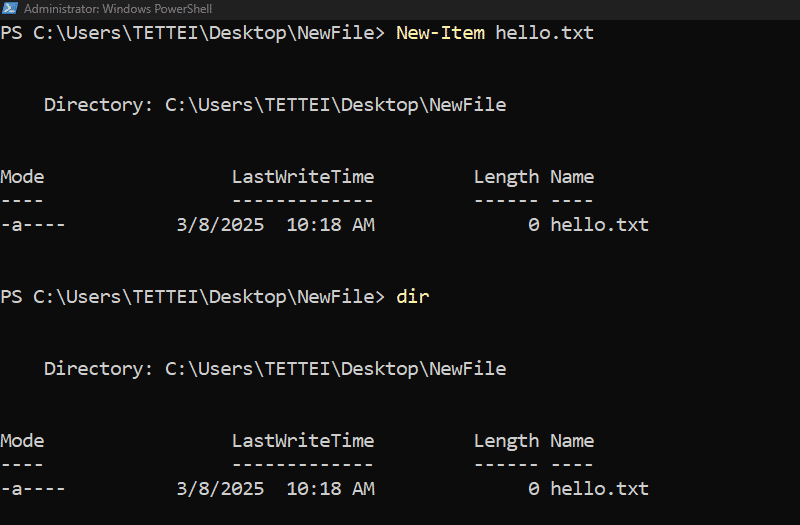 Made a file from scratch — no GUI needed!
6. Copying Files
Need a duplicate? Use Copy-Item:
Copy-Item hello.txt hello2.txtThis copies hello.txt to hello2.txt in the same spot. For folders (including everything inside):
Copy-Item -Recurse .\OldFolder .\NewFolder-Recurse grabs subfolders too — I’ve copied entire configs this way for backups.
 Copied a file — doubling up made easy.
7. Deleting Files (Carefully!)
Time to clean up? Remove-Item is your friend — but it’s permanent (no Recycle Bin):
Remove-Item hello2.txtGone forever. Folders too:
Remove-Item OldFolderIf it’s got stuff inside, add -Force:
Remove-Item OldFolder -ForceI’ve used this to purge test files, but be cautious — once it’s gone, it’s gone. Pro tip: Make a file read-only to avoid accidents:
(Get-Item hello.txt).Attributes = "ReadOnly"Now Remove-Item hello.txt fails — unless you force it.
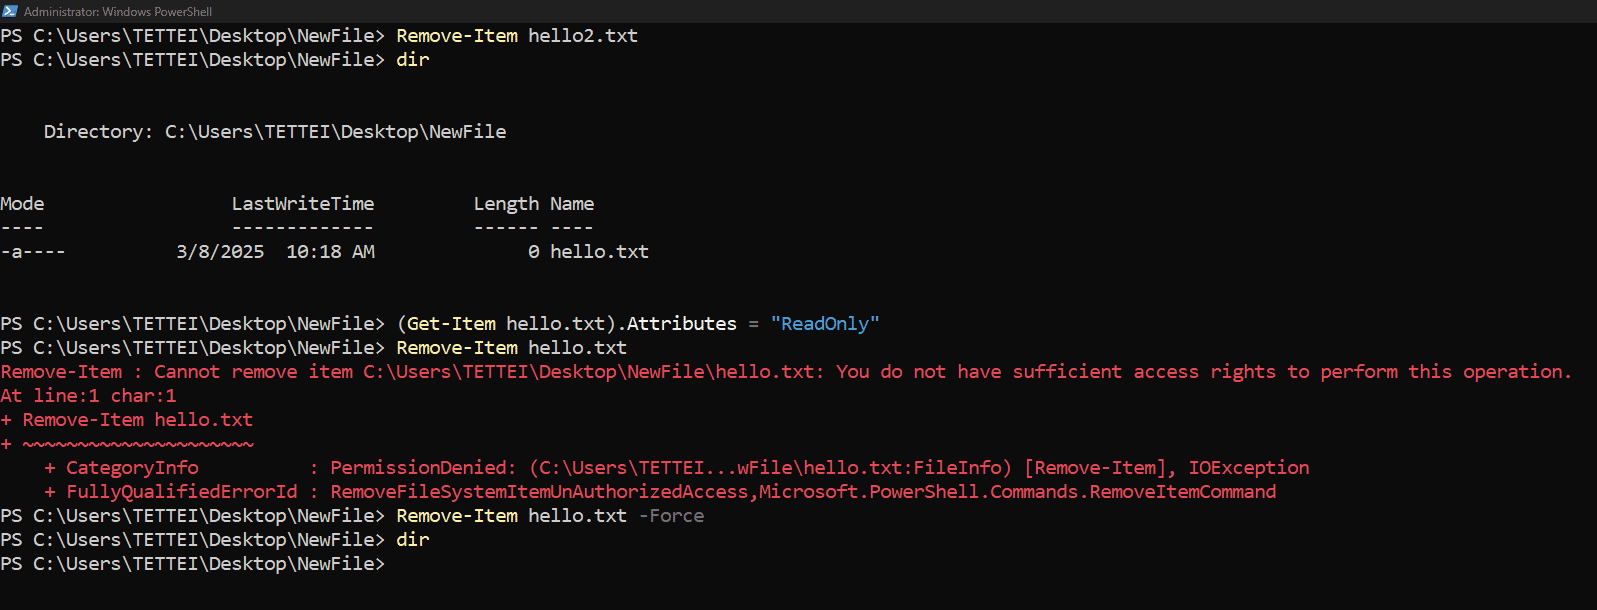 Deleted a file — watch out, it’s permanent!
8. Digging Up System Info
PowerShell isn’t just file tricks — it’s a goldmine for system details. Try:
Get-ComputerInfoThis dumps everything — OS version, RAM, you name it. I’ve used it to audit systems before securing them. Want just the OS name?
(Get-ComputerInfo).OsNameHandy for scripts — like when I needed OS versions for Azure reports. Running programs?
Get-ProcessLists all active processes — great for spotting suspicious activity.
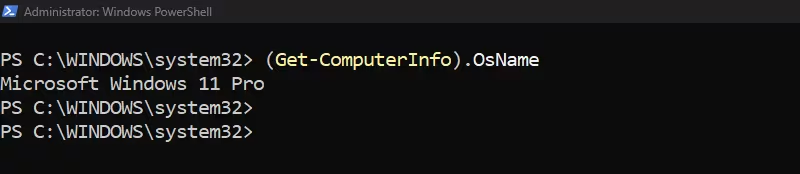 Grabbing system info — key for security checks.
9. PowerShell Hacks for Newbies
-
Command History: Hit the up arrow — scroll through past commands. Down arrow moves forward. Press Enter to rerun — saves me retyping daily.
-
Clear the Screen: Too much clutter?
Clear-HostOr just Clear — same deal. I use Ctrl + L too — clears but keeps scrollback.
- Chain Commands: Run multiple at once:
cd $HOME; dir *.txt; New-Item files.txtGoes home, lists text files, makes a new one — automation in one line.
- Stop a Command: Long process (e.g.,
dir C:\Windows\system32)? HitCtrl + C— stops it cold.
 Chaining commands — less typing, more doing.
10. Automation Magic with Scripts
Why type commands daily? Scripts automate it. I’ve saved hours — like automating 20+ Azure resources with one file. Open Notepad (or VS Code), write:
Get-Date
Get-ChildItem *.txt
New-Item -ItemType Directory -Name TextFiles
Save as automate.ps1. Run it:
.\automate.ps1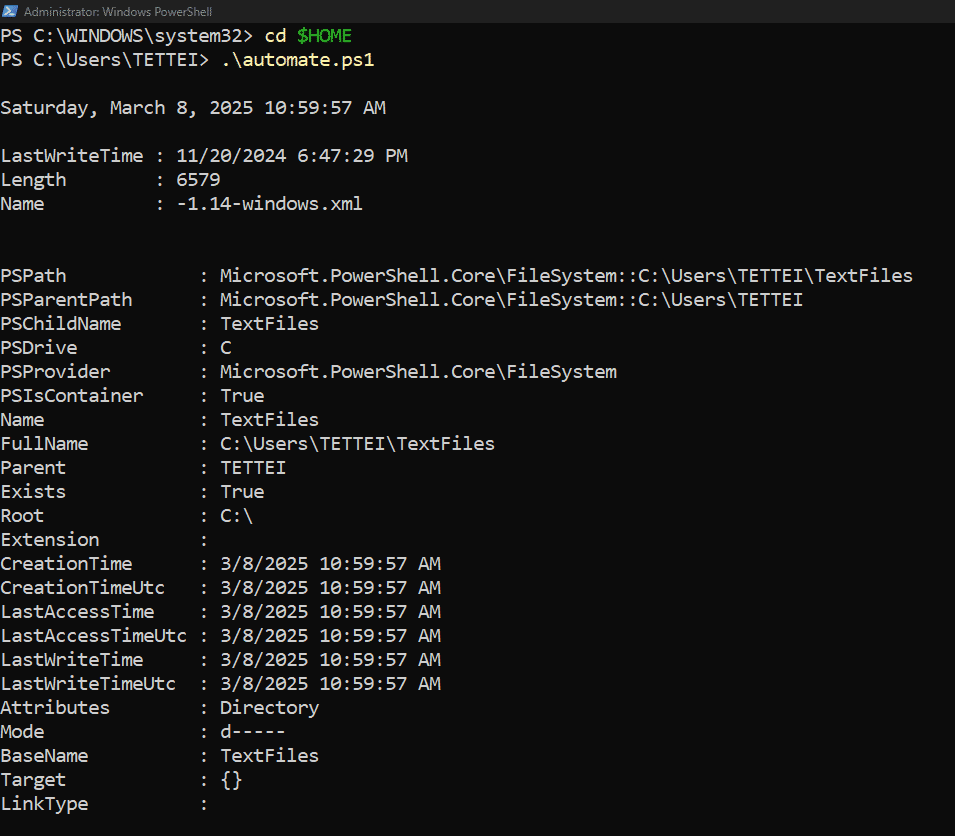 Running my first script — automation made simple!
It shows the date, lists text files, and makes a “TextFiles” folder — all at once. At my job, I’ve scripted system checks and Azure deployments — scripts are a time-saver every beginner can master.
Wrapping Up: PowerShell in the Real World
That’s your crash course in PowerShell basics — from navigating folders to automating tasks. I’ve used these tricks to secure systems, cut deployment times by 30%, and keep cloud environments humming. This is just the start — PowerShell can do so much more, like auditing systems or managing Azure resources (my specialty!). Want to dig deeper? Check out my other tutorials on mshardey.com/blog, where I share practical cloud security tips from the field. Whether you’re a beginner or a pro, there’s always a command to make life easier—keep exploring!